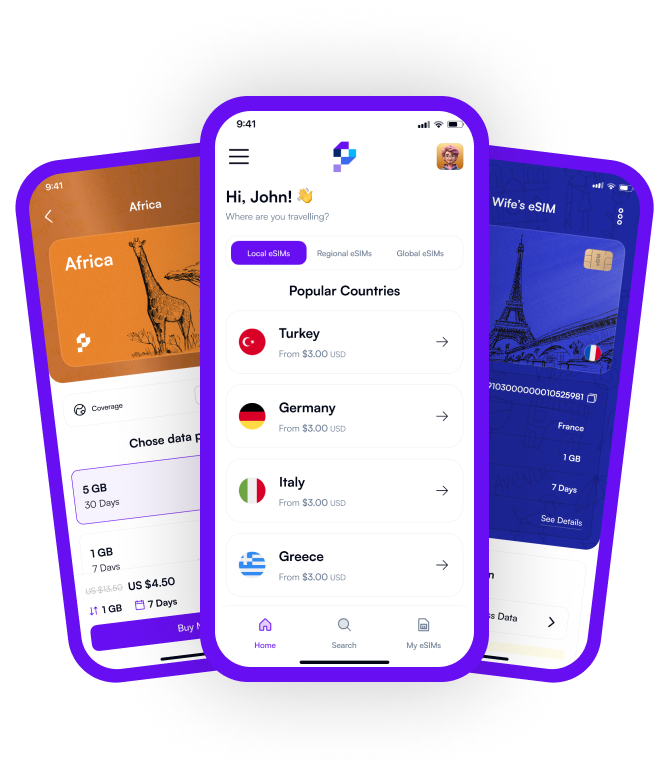
Changing your phone is exciting, right? But when it comes to eSIM transfer, things might seem a bit confusing. Don’t worry—it’s actually much easier than you think! Today, I’ll walk you through iPhone eSIM transfer and Android eSIM transfer in the simplest way possible. Plus, if you use Pocket eSIM, the process becomes even smoother!
Before You Switch to Your New Phone!
You’re eager to set up your new phone, but hold on a second! Check these key points first:
- Does your new phone support eSIM? Make sure to confirm this!
- Does your carrier allow eSIM transfer? Some may require a QR code.
- If you use Pocket eSIM, you don’t need to worry! You can transfer your eSIM to your new phone in just a few minutes.
Transferring eSIM on iPhone
Apple has made iPhone-to-iPhone eSIM transfer incredibly simple with the Quick Start feature. Let’s get started!
Steps to Transfer eSIM from iPhone to iPhone:
- Turn on your new iPhone and connect to Wi-Fi.
- Bring your old iPhone close to the new one—the Quick Start screen will appear.
- When you see the "Transfer eSIM" option, confirm it.
- Approve the transfer on your old phone and wait a few seconds.
- On your new iPhone, go to Settings > Cellular to check if the eSIM has been transferred successfully.
That’s it! If your carrier doesn’t support Quick Start eSIM transfer, don’t worry. You can request a new QR code from your carrier and activate your eSIM manually.
Transferring eSIM on Android
eSIM transfer on Android devices may vary depending on the model, but you can generally follow these steps:
Steps to Transfer eSIM from Android to Android:
- On your old phone, go to Settings > Connections > SIM Manager > eSIM Profile.
- Select "Remove eSIM" or "Disable eSIM" to delete it from the old device.
- On your new phone, go to Settings > Connections > SIM Manager.
- Select "Add eSIM" or "Scan QR Code" and scan the QR code provided by your carrier.
- Wait for the eSIM to be activated on your new phone—done!
Samsung, Google Pixel, and other Android devices may have slight variations in the process. However, if you use Pocket eSIM, transferring your eSIM is much faster and easier.
Important Things to Consider When Transferring eSIM
- Do not delete your eSIM from the old phone until it’s activated on the new one!
- Check if your carrier allows eSIM transfer and whether you need a new QR code.
- If you use Pocket eSIM, you can switch to your new phone instantly without any extra steps!
Why Should You Use Pocket eSIM?
Whether you’re traveling, on a business trip, or just upgrading to a new phone, Pocket eSIM allows you to stay connected without the hassle of switching SIM cards. Plus, you don’t even need a physical SIM! If you want instant internet access worldwide, Pocket eSIM is the way to go. It’s fast, practical, and secure!
Conclusion
The eSIM transfer process isn’t as complicated as it seems! iPhone users can easily transfer their eSIM using Quick Start, while Android users can activate their eSIM in just a few taps using a QR code.
If you’re using Pocket eSIM, everything becomes even simpler! Just follow the steps above, and you’ll have seamless connectivity on your new phone in no time. Enjoy your new device!

